Every week we get questions from tile installers and this month we’ve compiled some of our most popular tips. Read on for some suggestions that may help with an upcoming project:
Water Droplet Test
Here’s a new tip from the TEC team – when determining how to prime your substrate, you can perform the ASTM “Water Drop Test”. Drop some water on your substrate, then time it for 60 seconds. If the water soaks into the substrate completely in 60 seconds, it is absorptive and needs a primer.
If it does not soak into the substrate, it could be non-porous and should be checked for contaminants, sealers or other bond inhibitors before priming.
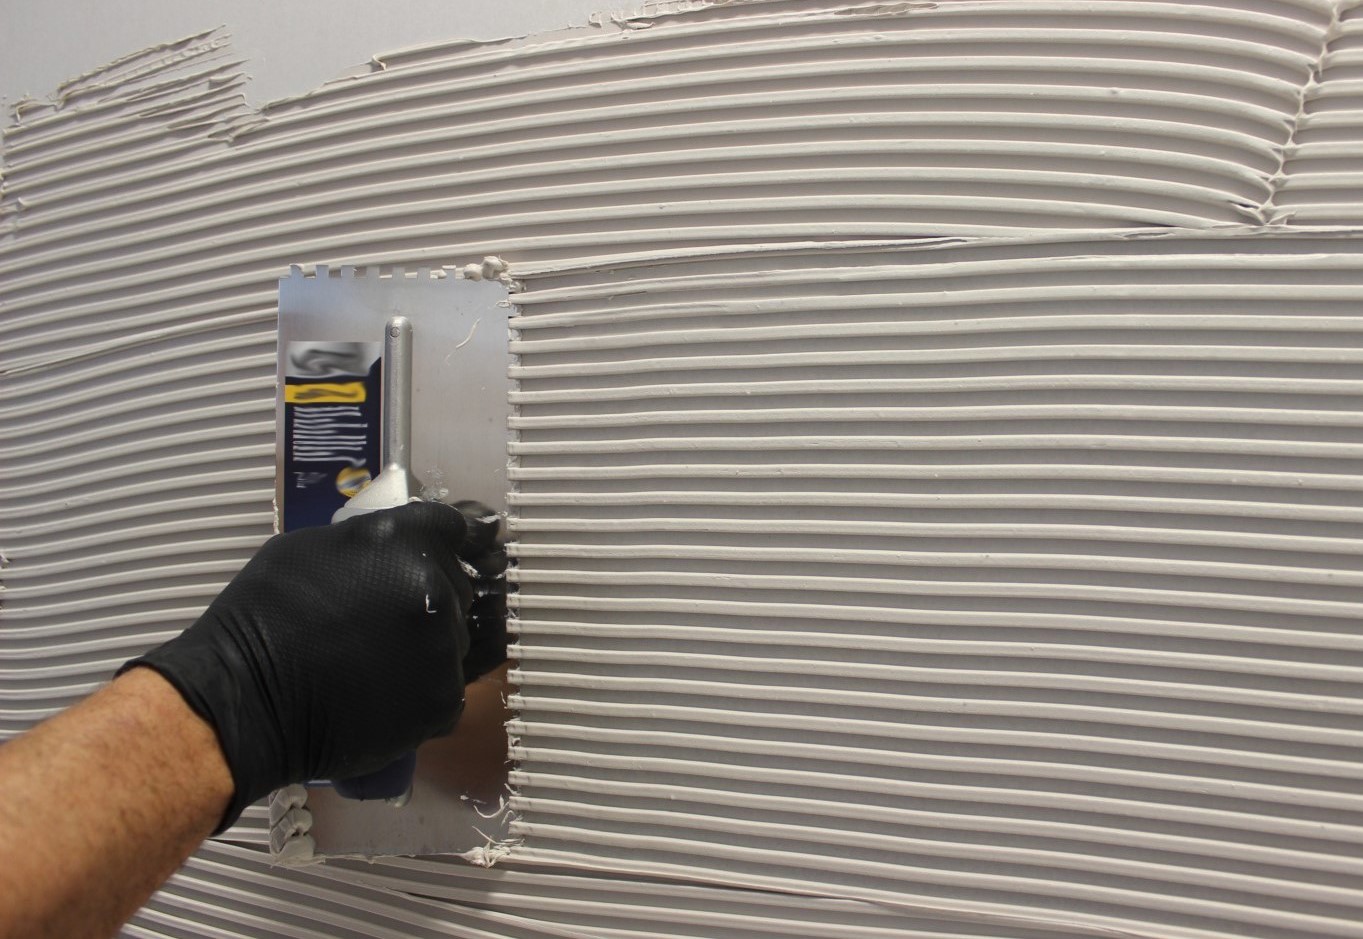
Troweling
Form matters. Holding a thin-set trowel at a 90° angle vs. a 45° angle increases the height of the trowel ridges by almost 30%! This translates to better adhesion and greater contact area between the tile and the substrate.
Hot Weather Grouting
On a hot day, freshly mixed grout can dry more quickly than expected. In addition to making it a rushed job to finish before it hardens, grout that dries too quickly tends to be weaker and more likely to crack. Use the following tips from TEC Installation Systems when grouting in the heat of summer.
- Ensure the powder temperature is between 60-80°F prior to mixing. Hot powder will lead to a short working time, even if it is mixed with cool water.
- Plan your job to avoid the hottest part of the day, ideally starting early in the morning. Use shades to cover the installation as much as possible.
- Be aware of your water temperature. Cool water and cool powder can greatly extend your working time in hot conditions.
- Mixing at the high end of the water amount will extend pot life. Be sure not to exceed the maximum.
- Pre-moisten the tile before grouting to help keep them cool and extend your working time. Do not install grout on tile that is hot to the touch.
- Work in small areas.
- Gently remix grout if it begins to set up. Do not add additional water.
- Check the grout’s readiness for clean-up earlier and start the clean-up procedure as soon as your finger comes away with no transfer. Be sure no haze remains on the tile after clean-up.